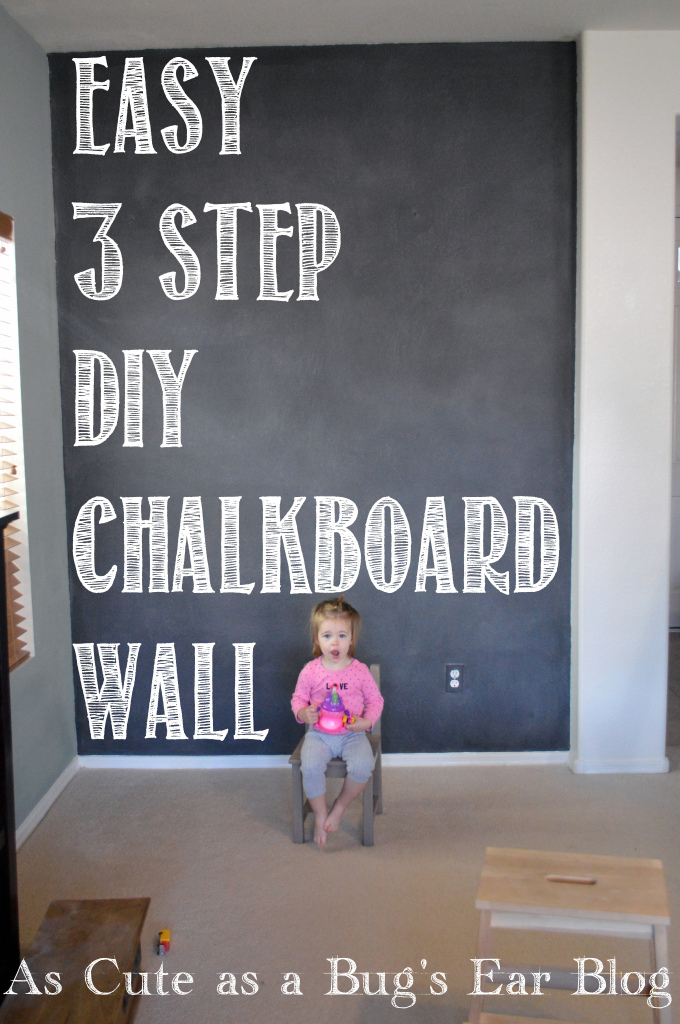


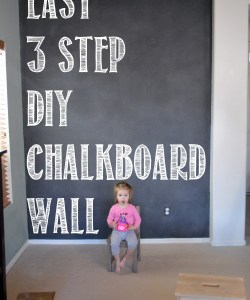
For what seems like years I have had my eye on transforming one of our walls into a chalkboard canvas for our family. Our walls are mostly covered with doors and windows so it took living here for nearly four years to figure out a space that would work. This wall in our family room felt like the perfect place. We have gained and lost furniture as we have grown as a family and this wall which housed the backdrop for our holiday festivities-tree, presents… well it ended up empty after the holidays and I jumped at the chance to paint.
The wall had seen it’s better days… before we learned that Raymond was allergic to apples, he threw up an entire apple pouch against the wall-and it didn’t wipe off as well as you would want it to- plus with toys in primary colors for the last couple of years that have been ran against, thrown against, raced against, the wall was a myriad of red, blue, and yellow streaks. Not too evident to anyone until the wall lost the shroud of the holidays and we moved a bookcase.
I painted during nap times and after the kids went to sleep at night. I used three quarts of chalkboard paint from Target. In hindsight, I definitely should have picked up a gallon. Our ceilings are 9 feet tall and the space is roughly 6 feet wide. I cleaned up the stains, cleaned the baseboards and did an extra step of prep to get straight lines.
EXPERT TIP: Tape the walls and ceilings and PAINT the tape with the color of the wall that it touches- the bleed through will be the color you want… it shouldn’t be a lot of bleeding… if you tape the right way BUT I wanted crisp, crisp, crisp lines seeing as it was going to be easy to see if there were any mistakes with such a dark color of paint. And? It worked. Took thirty extra minutes. But well worth the aggravation.
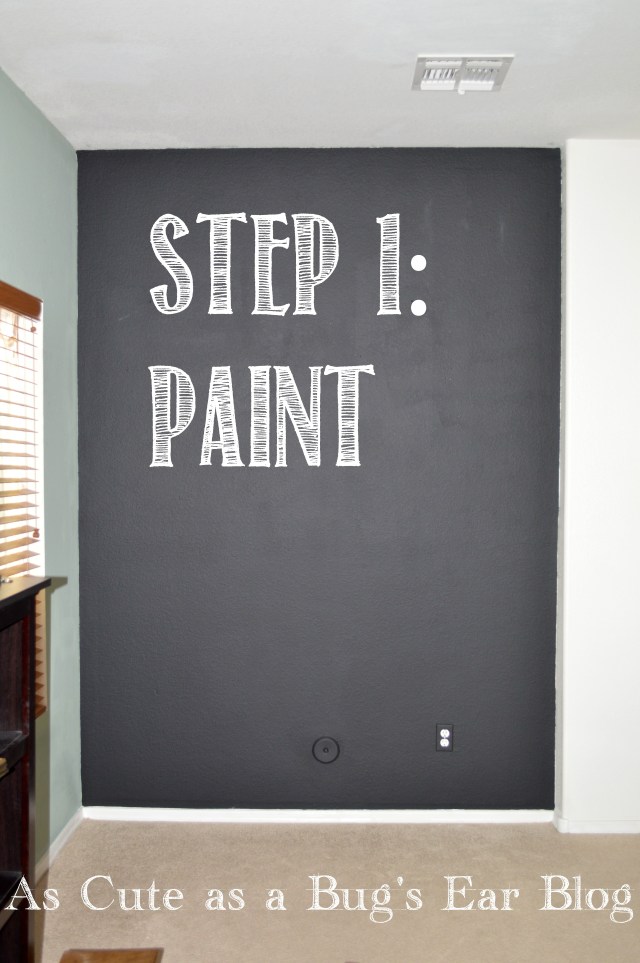
STEP 1:
I painted three thin coats of paint allowing adequate time for it to dry. The smell was atrocious and I was thankful that for the first time in the history of me painting in Phoenix I could open up the windows to air out the house. Win. I used a foam roller and two inch brush.
Now for the waiting. You will notice when you paint that the wall becomes almost tacky to the touch. Well, you need to wait a couple days for the paint to cure. I waited two and a half.
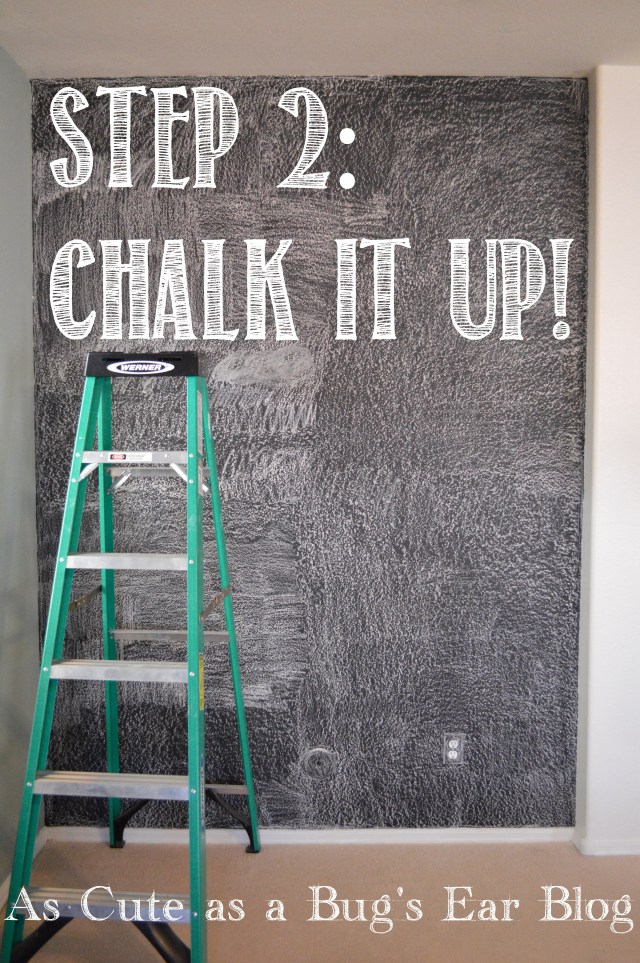
STEP 2:
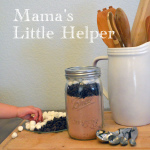
Take chalk and CHALK IT UP. No seriously, rub chalk all over the wall. My husband and I tackled this during a nap-time and most assuredly you should not have little ones around when you do this. The chalk that feels the air? Palpable.
We opened up the windows on the crisp 60 degree day and went through nearly 12 pieces of full sized chalk.

STEP 3: Towel it off. We used our old, white cotton rags to smooth out the board and then immediately wiped up the baseboard and vacuumed the area. Easy and I immediately fell in love with the board. So much softer on the eyes than the stark black paint we lived with for days. LOVE.
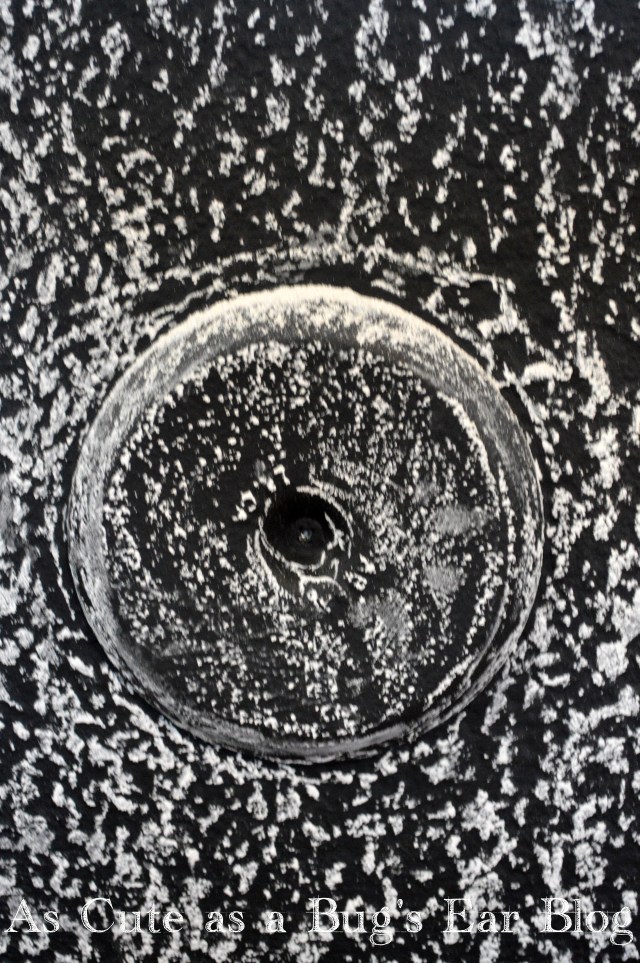
I chose to paint the cover for the gas line and the outlet cover so that they wouldn’t stand out on the wall. I am very happy about that decision.


I LOVED how easy this project was. EASY, AFFORDABLE, AND FAMILY FRIENDLY.

The bits and pieces from covering the wall. Good times. I realized I fear my nails running on the chalkboard more than many, many, many phobias. Spiders? Eh. My nails on a chalkboard. Learned something new I guess. Thankful for chalk pens. No nails on a chalkboard for me, EVER again.

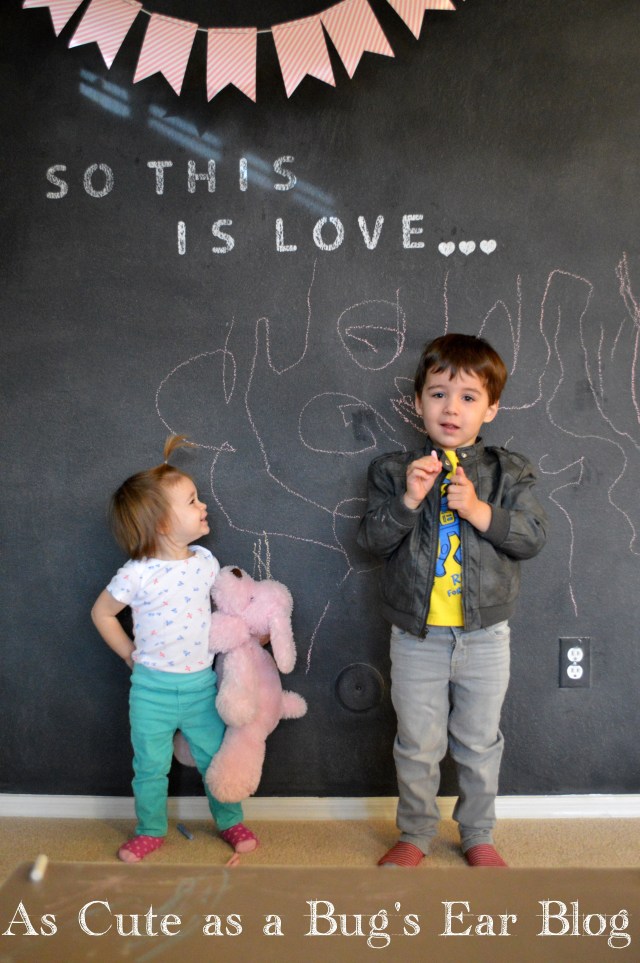
Slowly adding in a couple of decorations. Pink banner for Valentines Day, clad with a quote from Cinderella for our #DisneySide Party we are hosting soon.

We now have a small crate of dustless chalk in The Secret Hideout that they can use throughout the day. Thankful that they know that this is the only wall to color… and the small table I painted that has a chalkboard top. Love our craft corner.

Thankful that I now have a wall to use as a backdrop for pictures… think of the captions… the quotes… and of course the extra art time my little ones now get?!? Worth it. The project cost me roughly $25 dollars in paint and tape. I know that some of you probably don’t use tape, but these arthritic hands need the extra assurance that tape surely brings.
Are there any DIY updates you can do in a long weekend? Do you have a chalkboard wall in your house?
Would love to hear from you!